Search Website
Add a navigation folder
What you’ll accomplish
You’ll create a navigation folder that:
- appears in your site menu
- has a clear label
- automatically includes a landing (index) page you can start editing right away
Locate the parent folder
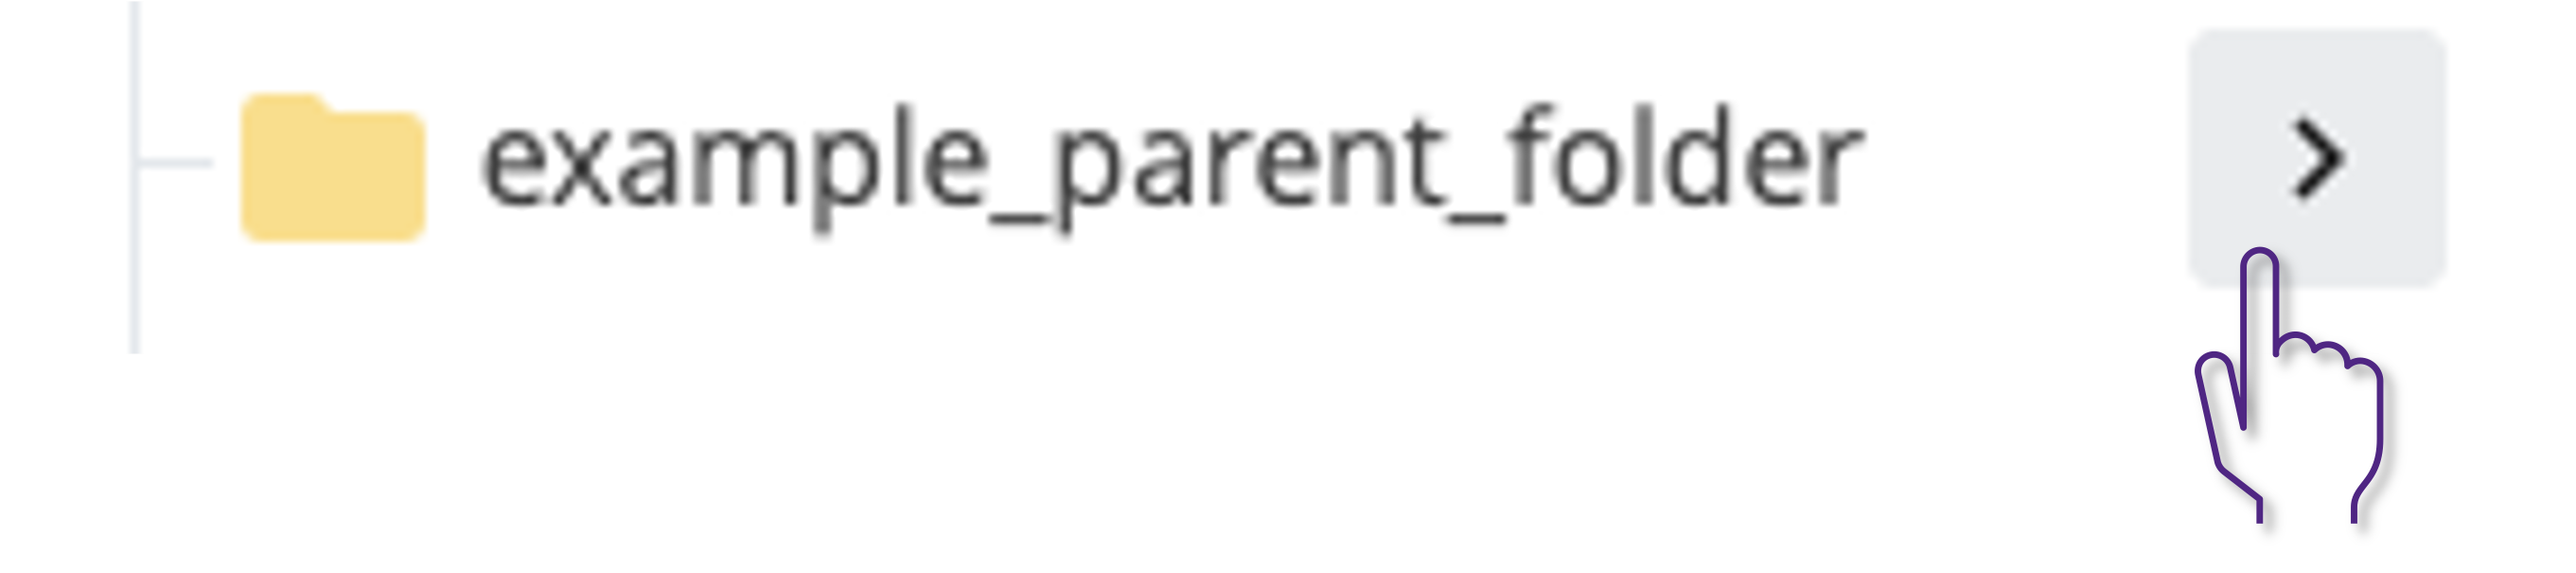
- Go to your Cascade site and find the folder where the new section should live (the “parent” folder).
- Click the chevron (>) beside the folder name to expand/open the folder.
Add Folder for Navigation
- In the top black toolbar, click Add Content.

- In the content list, select Global Assets → Folder for Navigation.
- In the Title field, enter a folder name
- Click Submit to add the folder.
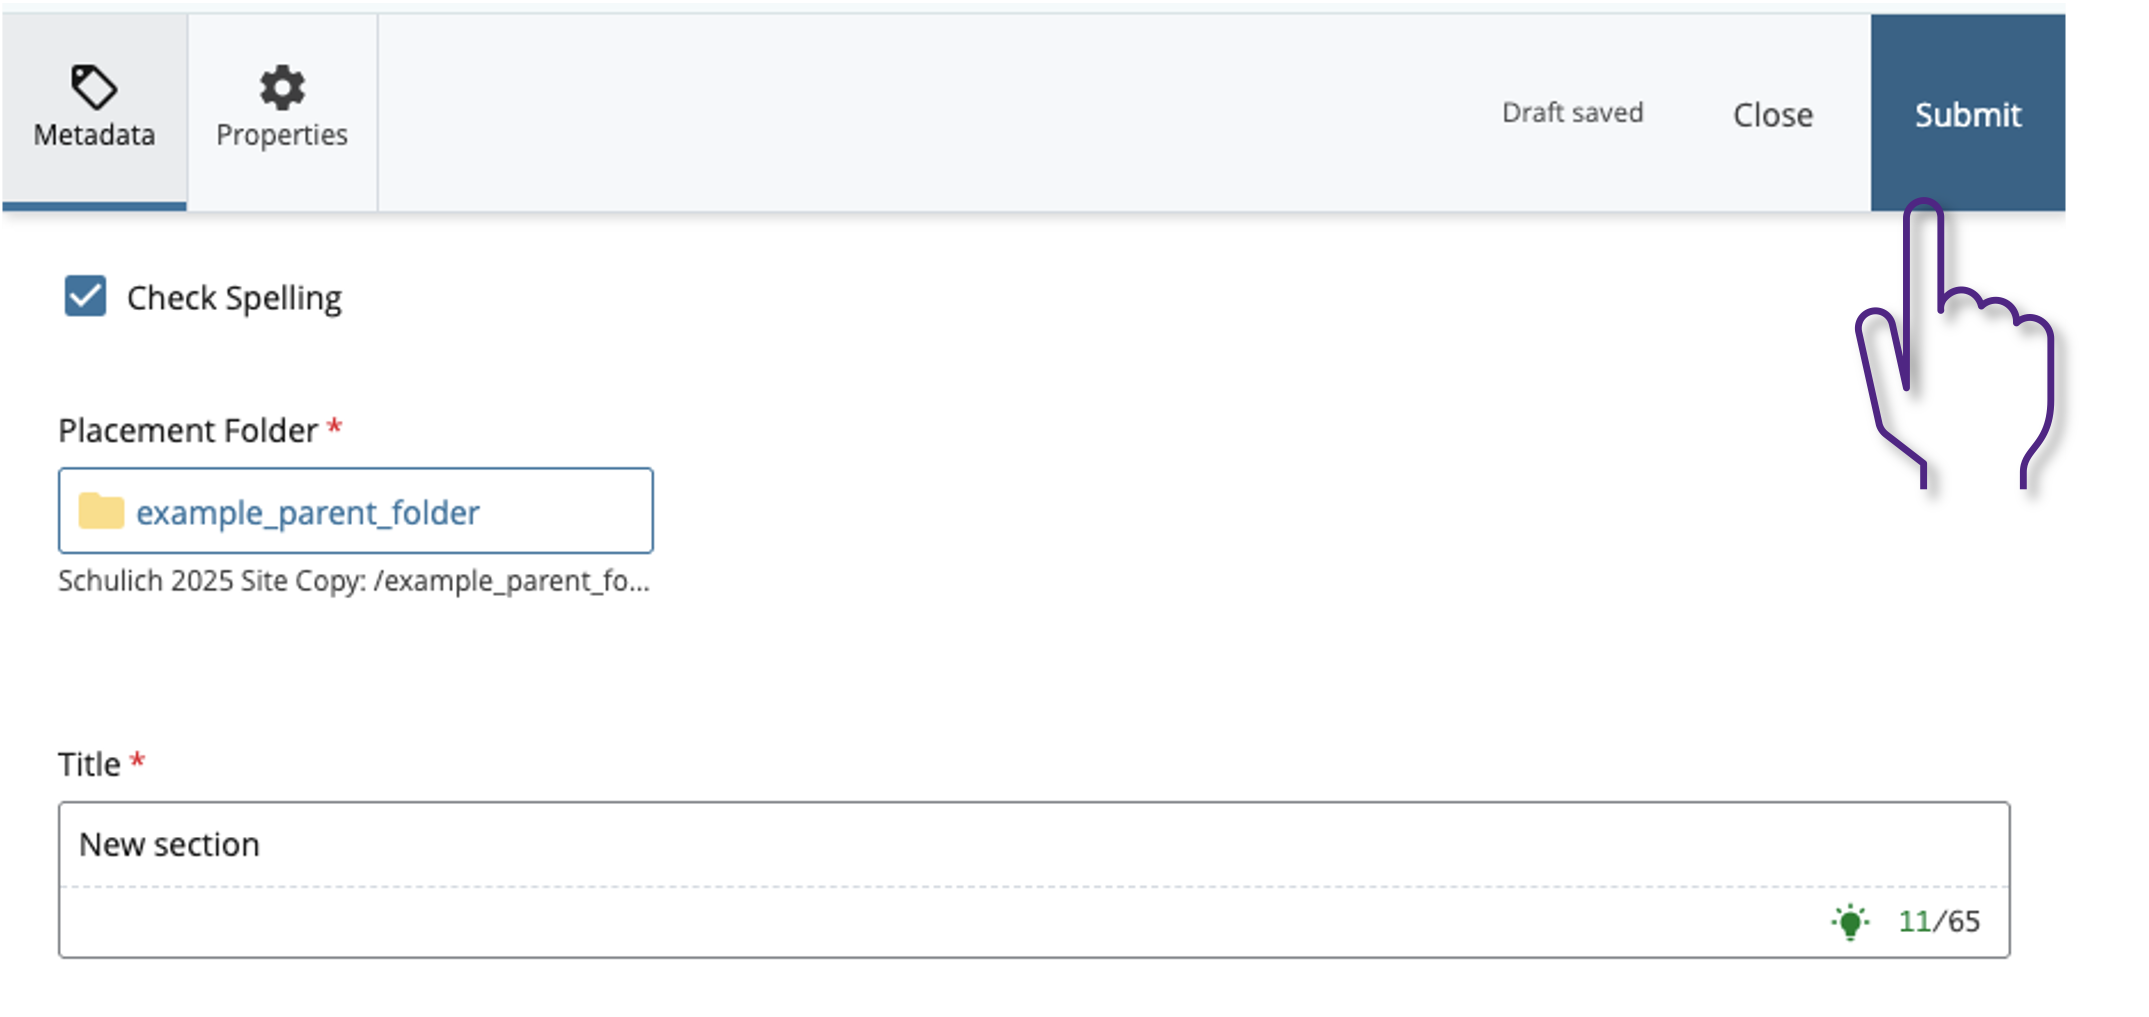
- You now have your new folder created
Edit index(landing) page
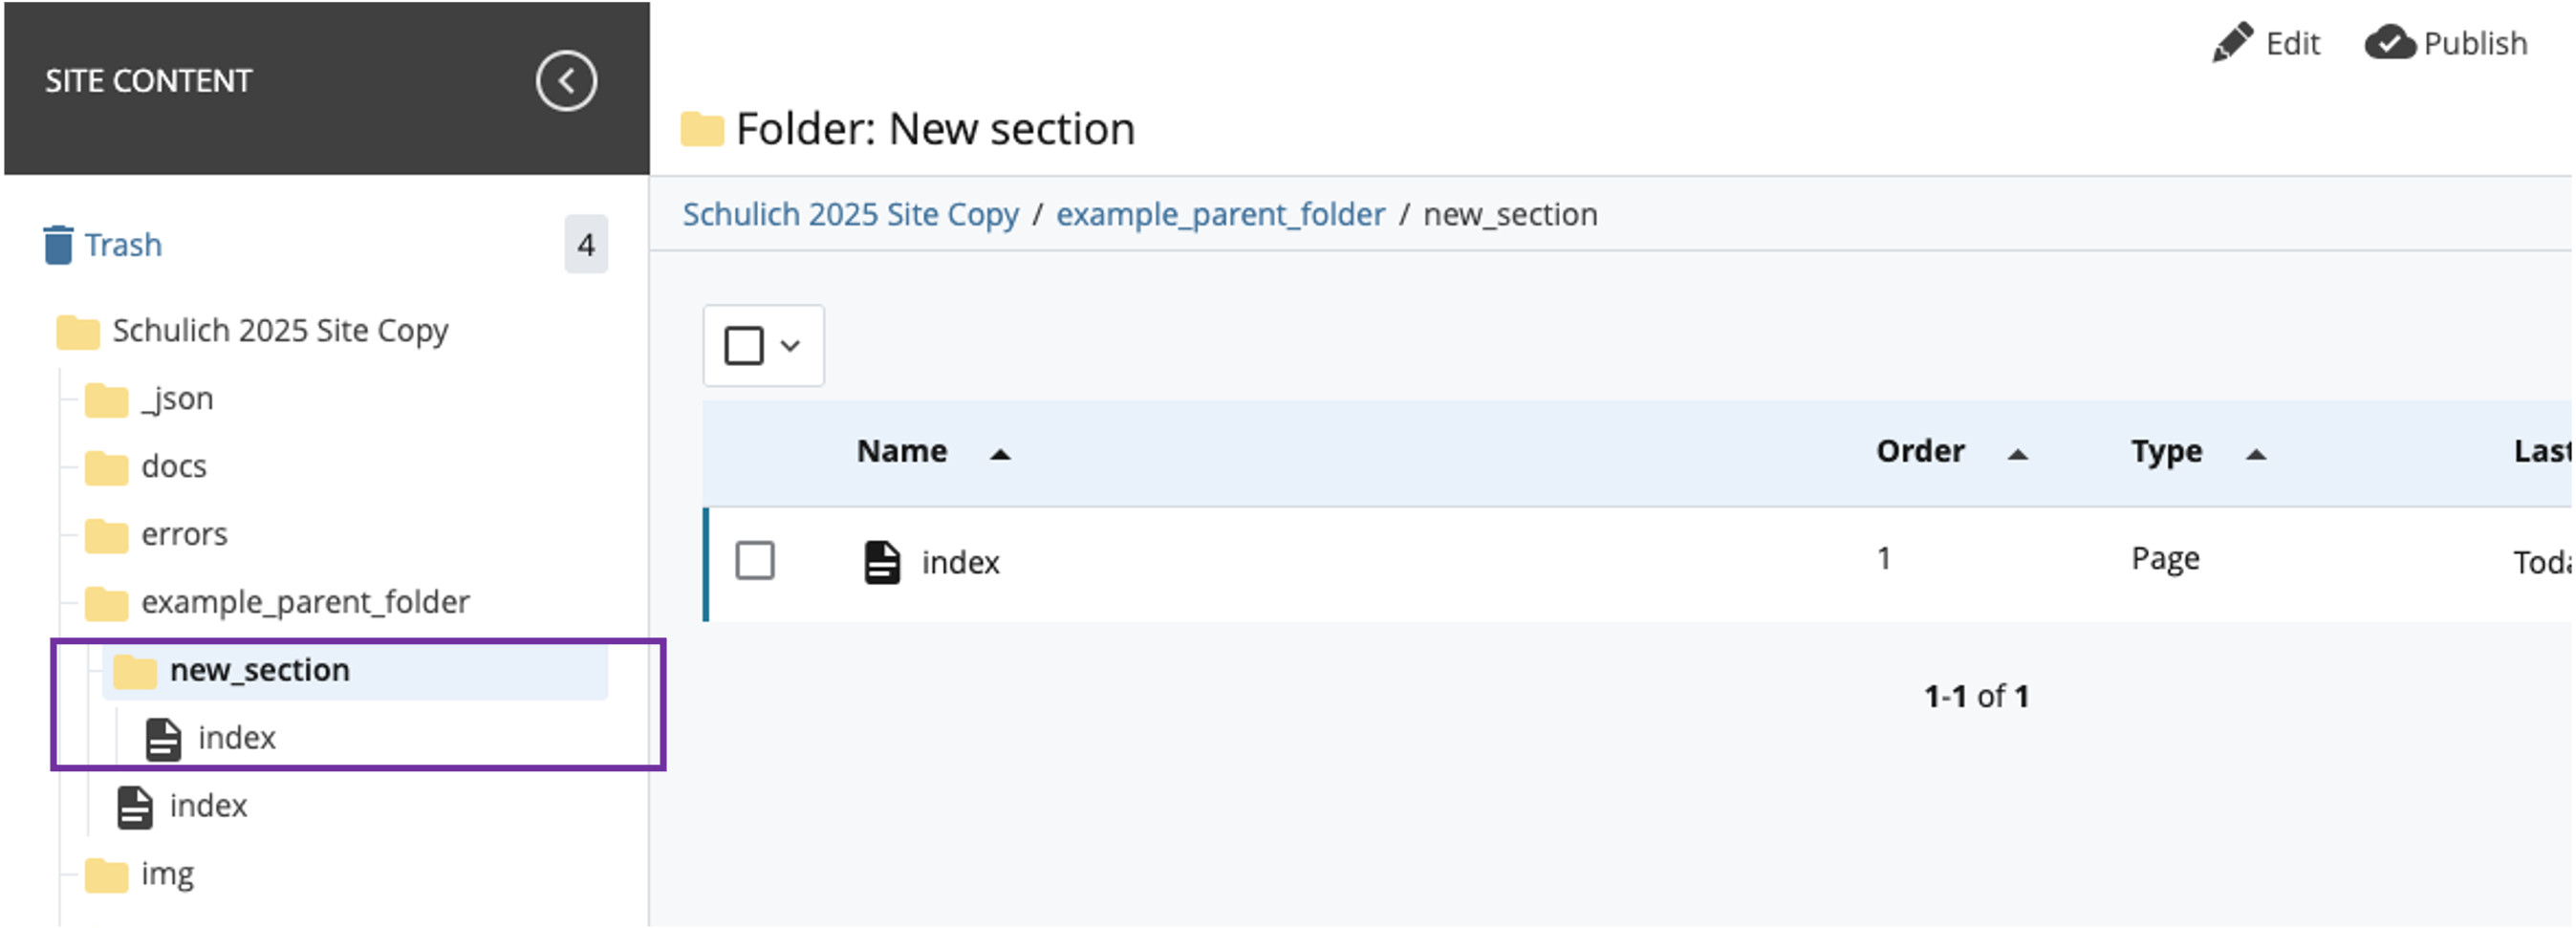
In the 2025 template, creating a navigation folder automatically creates the section’s index (landing) page.
Always remember to add content to the index page (even a short intro). This prevents visitors from clicking a menu item and landing on a blank page.
1) Open the index page
Inside your new folder, locate the auto-created index page and click Edit.
2) Configure basic page settings
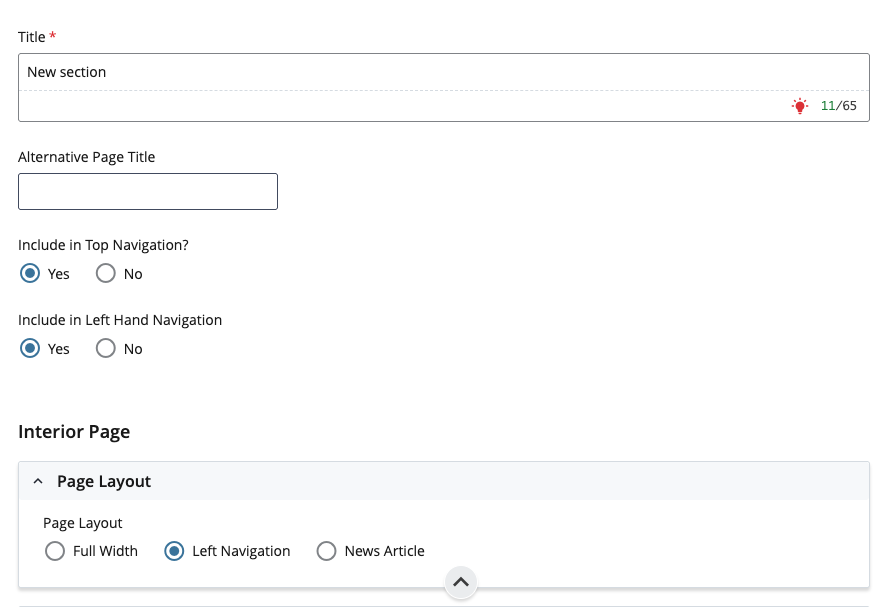
Update the following fields:
- Page Title: same as the folder name
- Include in Top Navigation? → Yes
- Include in Left Hand Navigation → Yes (These settings ensure the section appears in the site menus.)
- Page Layout:Left Navigation
3) Add starter intro content (so the page isn’t empty)
Scroll to Page Sections.
- Expand Section Notes (Internal to Cascade Only)
- Under Left Navigation Sections, select Columns
- Scroll down to Columns → Column Content
- Add a short intro and 2–3 “next steps” items.
Starter text example (copy/paste):
Learn about [what this section covers] and find key resources for [primary audience/tasks].